1
/
of
5
TOOPRE
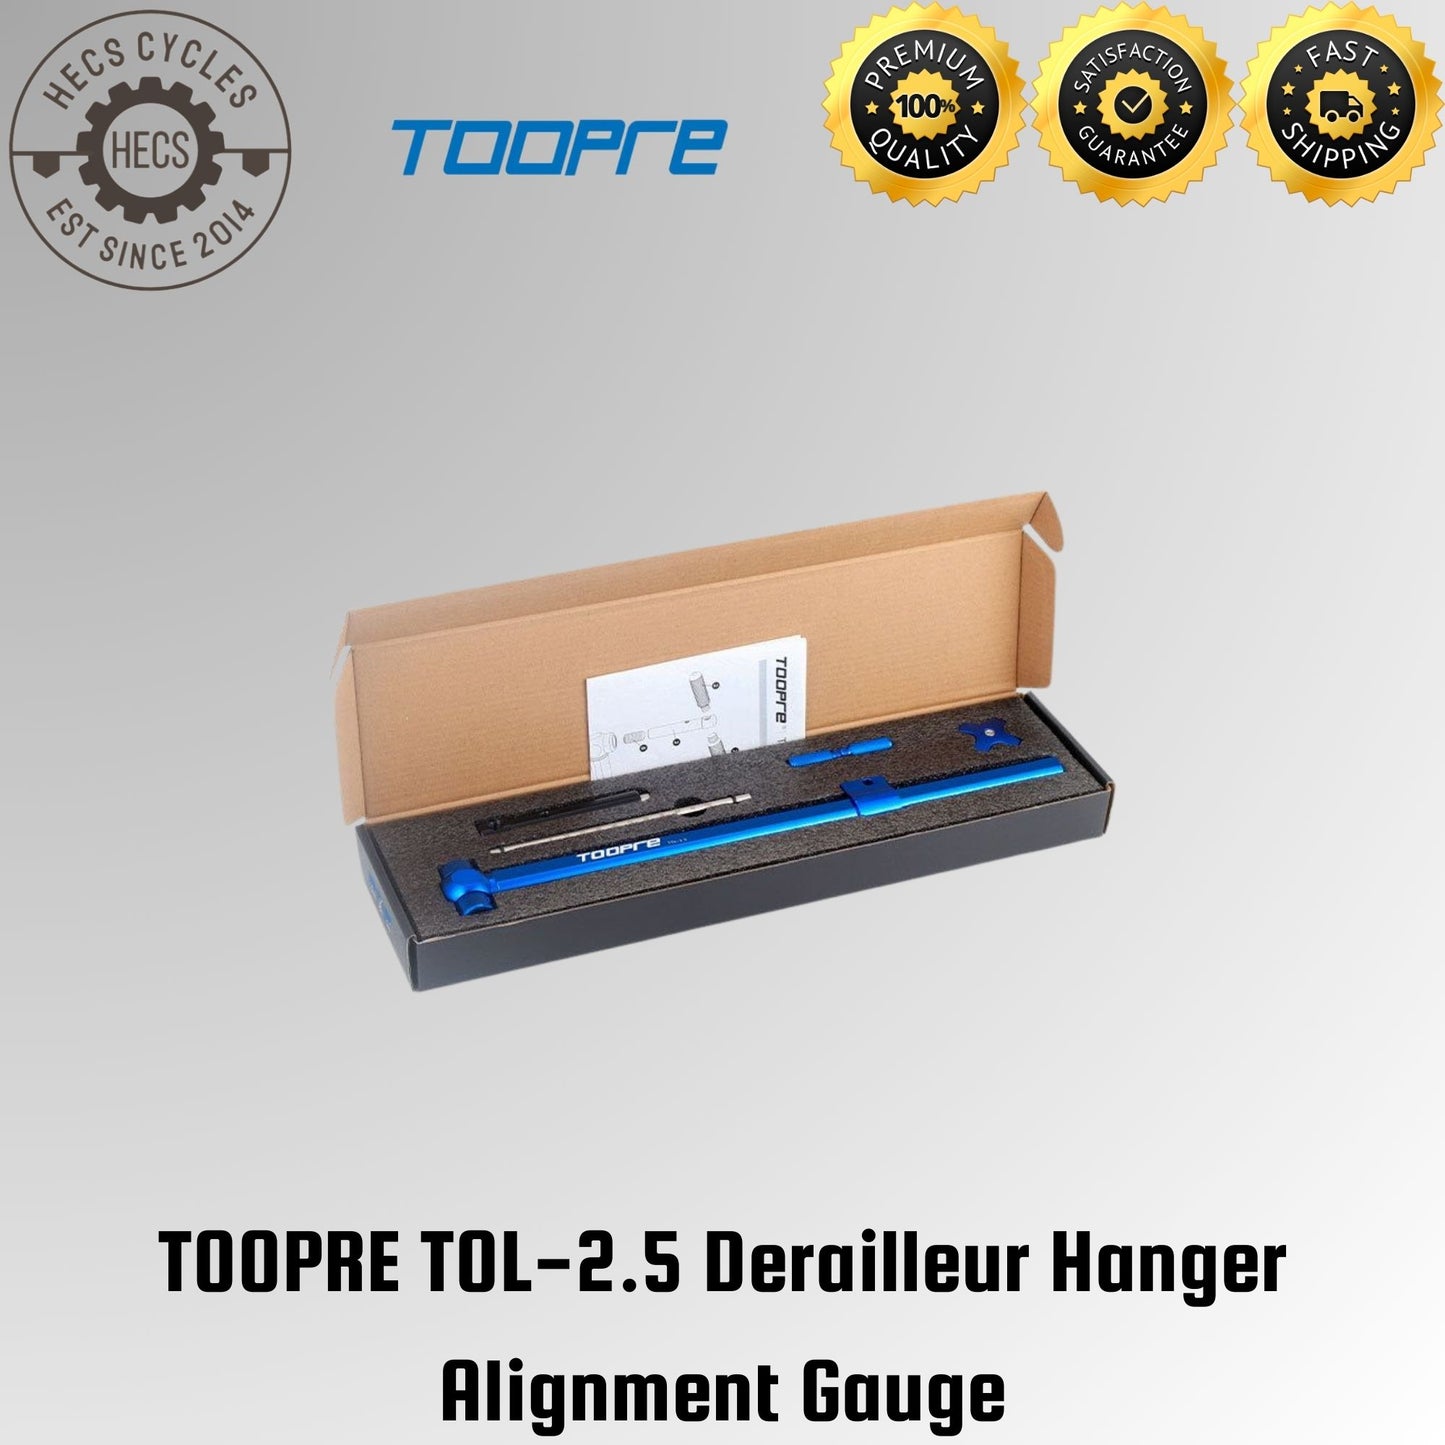
TOOPRE TOL-2.5 Derailleur Hanger Alignment Gauge
TOOPRE TOL-2.5 Derailleur Hanger Alignment Gauge
Regular price
$45.00
Regular price
$45.00
Sale price
$45.00
Unit price
/
per
Couldn't load pickup availability
Description
Correct minor misalignment of your rear derailleur hanger with this tool. If you're facing subtle challenges in gear shifting, this tool could provide the solution. Occasionally, a bent derailleur hanger can hinder proper indexing, making this tool invaluable for resolving such issues.
Specifications
- Material: Aluminum Alloy + Stainless Steel
- Package Size: 450×115×40mm
- Weight: Approximately 507g/box
- Function: Used to correct the derailleur of the bicycle frame to solve various gear-shifting issues, especially for the rear derailleur system.
Features
- Aluminum alloy circular correction rod: Anodized aluminum material to enhance hardness and reduce weight.
- Locking rotating shaft: Aluminum alloy anti-slip detachable handle, precision threads for a secure fit. Clockwise rotation of the positioning handle to lock the bolt into the rear derailleur hanger.
- Sliding bracket: Locking sliding bracket, adjustable distance between the measuring rod and the hub, measures the deviation between the derailleur hanger and the wheel.
- 360-degree rotation correction: Using the rotation rod as the axis, 360° rotation to measure the distance between the wheel and the derailleur hanger, correcting the derailleur hanger.
- Stainless steel measuring rod with O-ring positioning: Stainless steel material with clear scale for precise measurement. Move the measuring rod to touch the wheel, then align the O-ring with the sliding bracket for positioning.
Application
- Install the bicycle wheel on the frame, ensuring it's centered.
- Remove the derailleur from the hanger.
- Tighten the rotation rod into the derailleur mounting hole.
- Rotate the wheel, align the valve with position A, and adjust the measuring rod accordingly.
- Move the sliding bracket and measuring rod precisely to the outer edge of the hub.
- Rotate the tool 180 degrees to position C.
- Ensure the measuring rod touches the outer edge of the rim; if the gap is within 4 mm, the hanger is aligned.
- If the gap exceeds 4 mm or the indicator touches the rim at B or D, adjust and use the correction rod to align horizontally.
- Once horizontally aligned, keep the rod in position. If the gap at D is more than 4 mm, use the correction rod to align vertically.
- Check alignment at all positions, ensuring the measuring rod touches the rim's outer edge. Always measure at the valve hole for accuracy and on the outer side edge of the rim to minimize errors from sidewall tilt.
Share


